How To Install An Attic Fan In Four Easy Steps
Installing attic fans can be quite challenging, especially if you are passionate about DIY projects and you have decided to take the matter into your own hands, thus saving both money and hassles. Attic ventilation has been used for decades and for a good reason, given its numerous benefits.
Here are some helpful tips if you plan to install your fan yourself.
For an average price of $500-$700 (varying by region, electrical providers, and other economical factors), you can not only extend the life of your entire roof and attic by preventing rainwater from infiltrating into the walls and damaging the entire structure of your home, but also ensure an unrestricted air flow through the entire attic, which can help you save hundreds of dollars on air conditioning in the long run!
Having said that, here are the steps you need to take in order to quickly, efficiently and professionally install such a fan, even if you have little to no experience in the field:
1. Decide On The Best Installation Angle
The first thing you need to do upon choosing the type of fan that best meets your home’s requirements (and solar-powered ones are particularly popular amongst homeowners today, as they are not only eco-friendly and cost-effective, but also perfect for gable installation), is to decide on the right angle of installation.
If you have a flat-pitched roof, then you should place the fan facing due south, for maximum efficacy.
2. Do The Hard Wiring
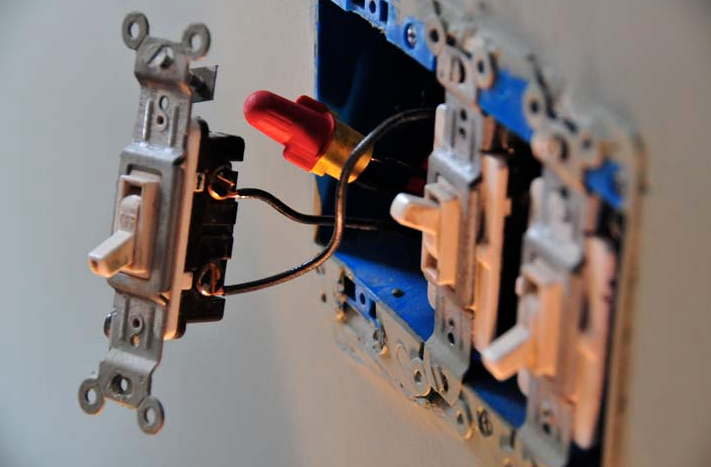
Connecting the wires is certainly the most difficult and dangerous part of the process, but once you have finished tightening the connectors and keeping moisture away from the fan, you can move on to adding the water-proof lid and then secure the fan in place.
Because wiring is one of the most difficult and dangerous parts of this project, it might be a good idea to call a professional Wilmington electrician like Conductive Electric to do the wiring for you.
3. Drill The Brackets
You must carefully drill the Z-brackets in order to install the fan. Not only will these simple, lightweight yet durable brackets make sure that the fan will be kept in place even when working at maximum speed, but it will also keep it away from the hot surface of the roof, thus adding to its overall performance.
Some butyl sealant also comes in handy – cheap and durable, the sealant must be used prior to drilling the Z-brackets into your roof.
4. Secure The Cables And Test The Fan
Now that your fan is in place, it is time to take care of the final details, such as securing the cables and making sure that the entire unit is waterproof.
The last thing you want to happen is to realize that the unit has been severely damaged by your leaky roof. The damage will not only cost money to fix, but also poses a serious fire threat.
The electrical cables should be carefully secured to the roof, and only after that should you add the temperature controller or the thermal switch that will help you set the desired temperature.


